How to calibrate the X-Wall
If the touch functionality stops working after the wall has been hit by a ball, there is no need to panic right away. Follow the steps below to solve the problem yourself. In many cases, the issue can be resolved within a few minutes.

Step 1.
For proper calibration, it is important that nothing is positioned in front of the screen during the process.
Use the computer keyboard and press the Windows key ( ) + D at the same time to exit the X-Wall software and go to the Windows desktop.

Step 2.
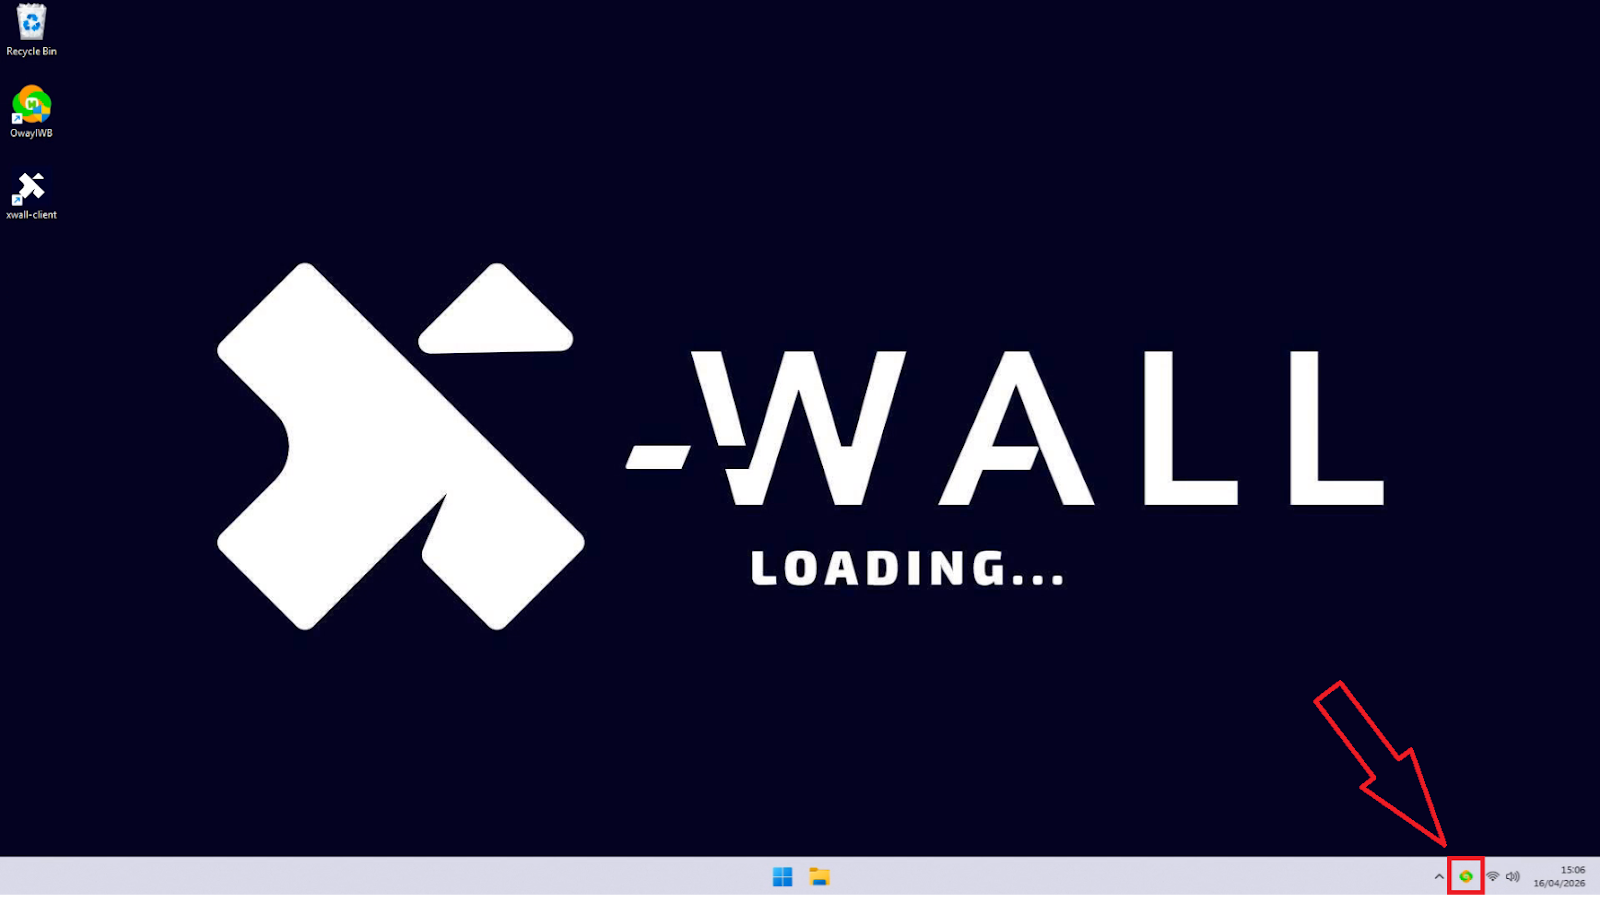
Move the mouse to the bottom-right corner of the taskbar and click the sensor icon.
Step 3.
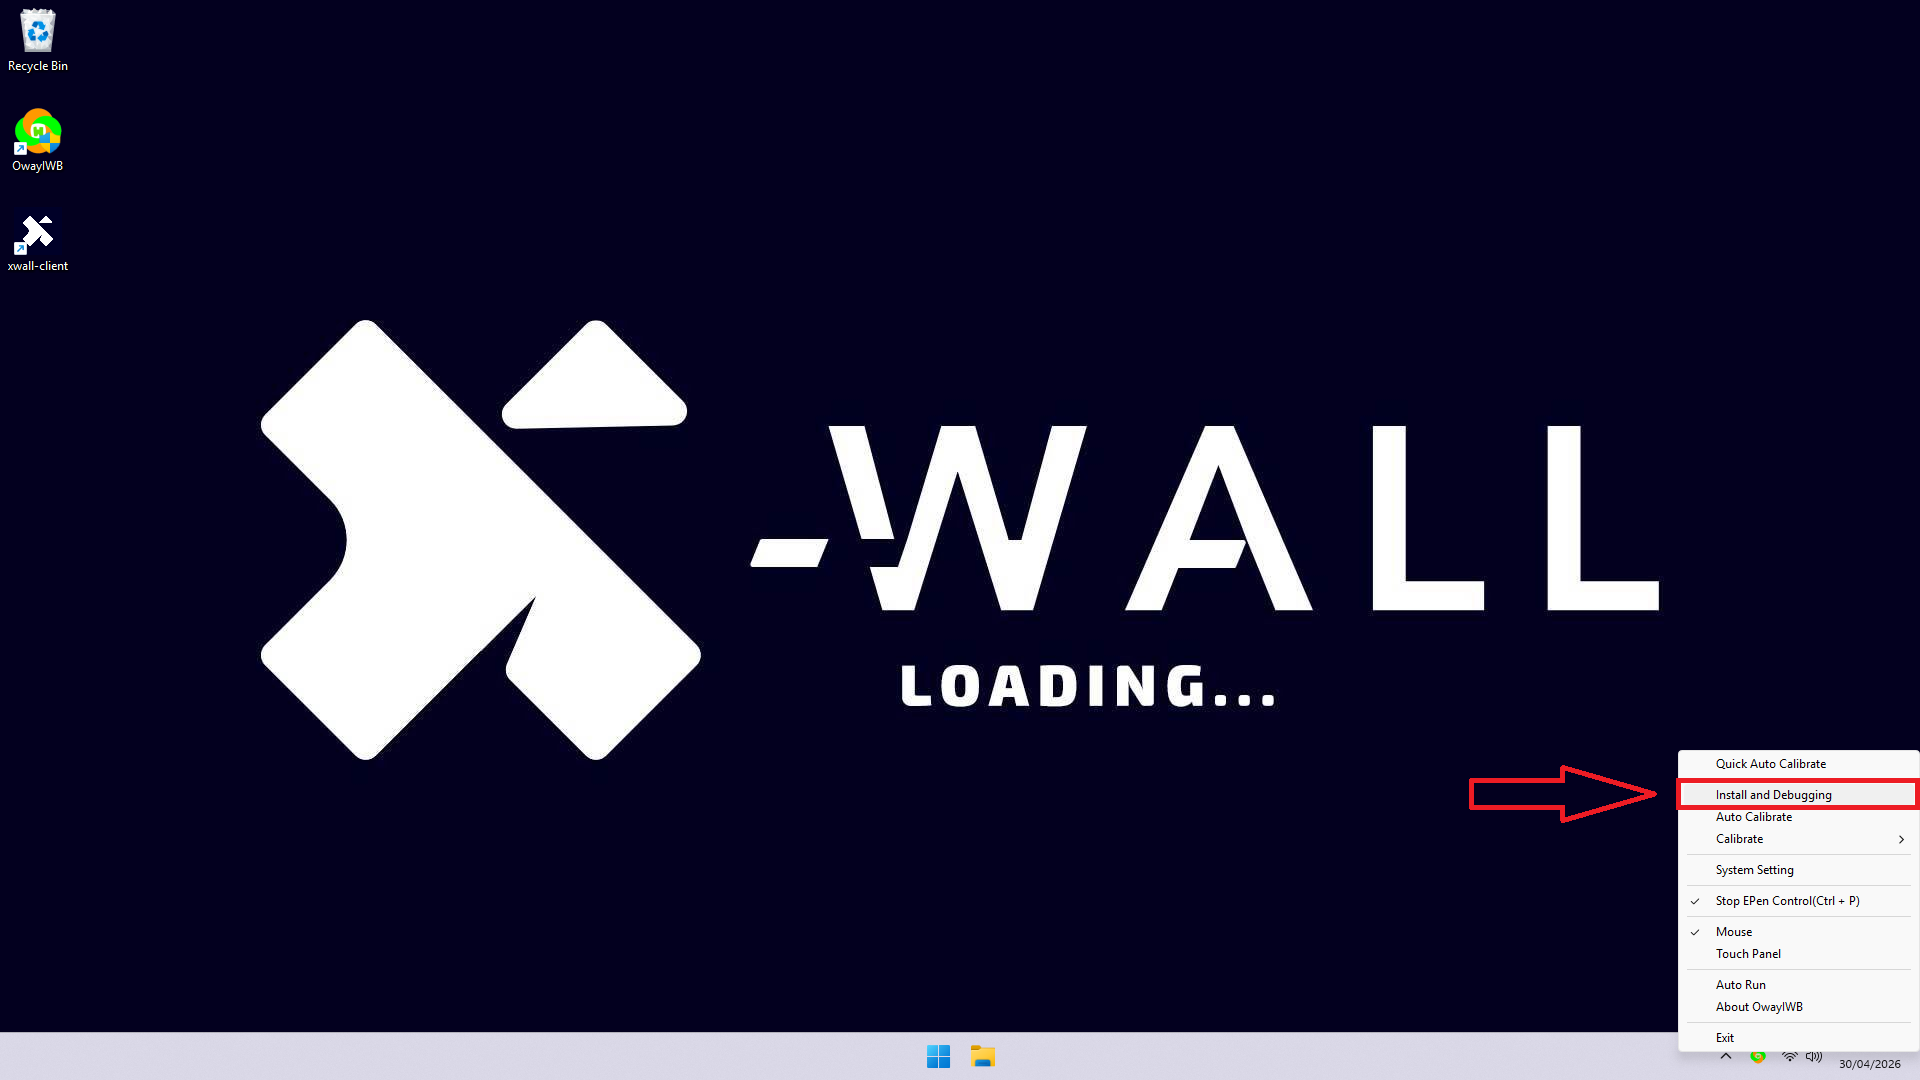
In the menu that opens, click the “Install and Debugging” option.
Step 4.
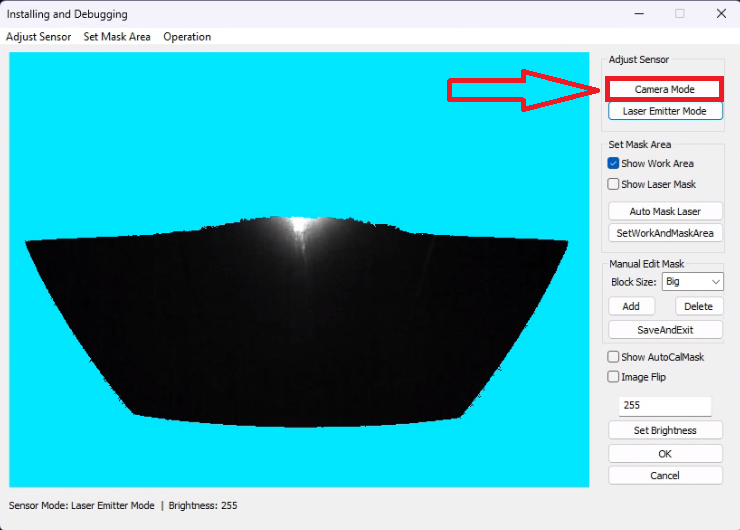
A new window for calibrating the sensor will open.
In this window, click the “Camera Mode” button to display the camera feed.
Step 5.
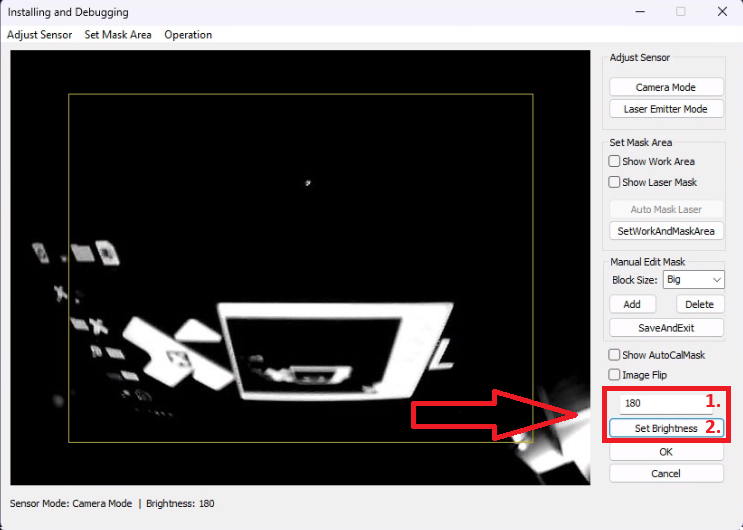
In this mode, it is important that the room appears as dark as possible so the calibration can be performed as accurately as possible.
You can adjust the brightness by entering a value in the text field
(from 1 to 255).
After entering a value, click the “Set Brightness” button to confirm it.
Step 6.
In the menu bar at the top, click “Operation” and then select “Auto Calibrate” from the dropdown menu.
The screen will flicker a few times while the system calibrates automatically.
Step 7.
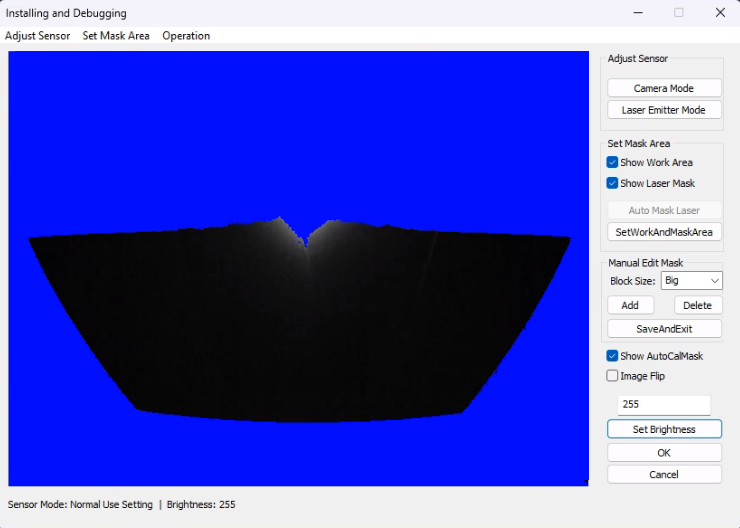
It may be necessary to adjust the brightness multiple times in order to achieve the correct calibration.
Below is an example of a properly calibrated setup.
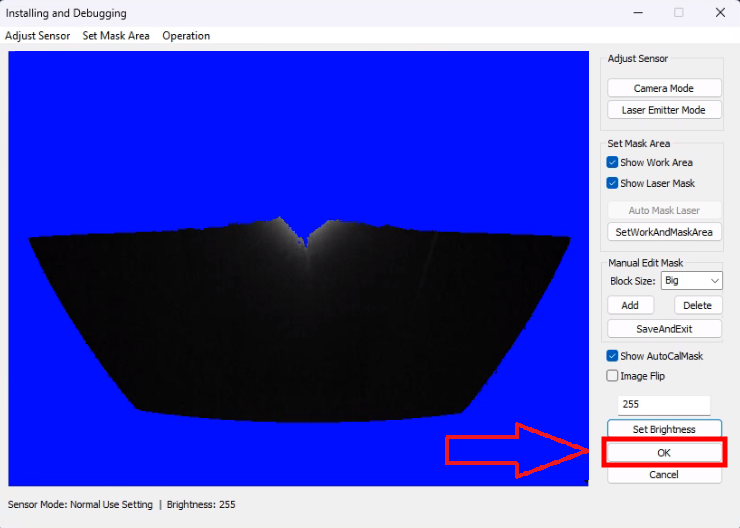
Step 8.
Press the “OK” button to close the calibration window.
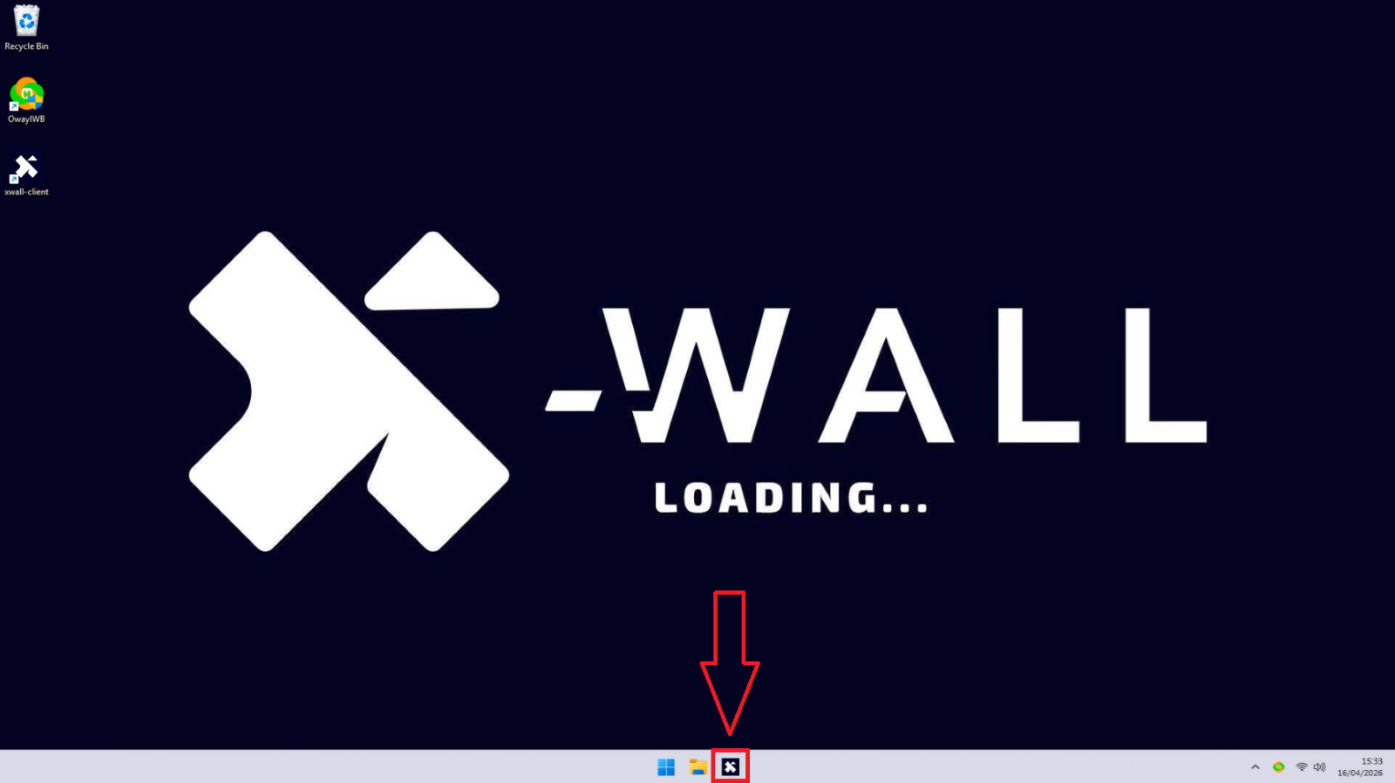
Step 9.
Move the mouse to the bottom of the taskbar and click the X-Wall icon to return to the games list.
Was this article useful?
Your feedback helps us keep the Knowledge Base sharp.